How Set Up New Devices: iPhone, Amazon Echo, Google Home, TV
You have a new thing. Now let’s put it together….

 Photograph: Apple
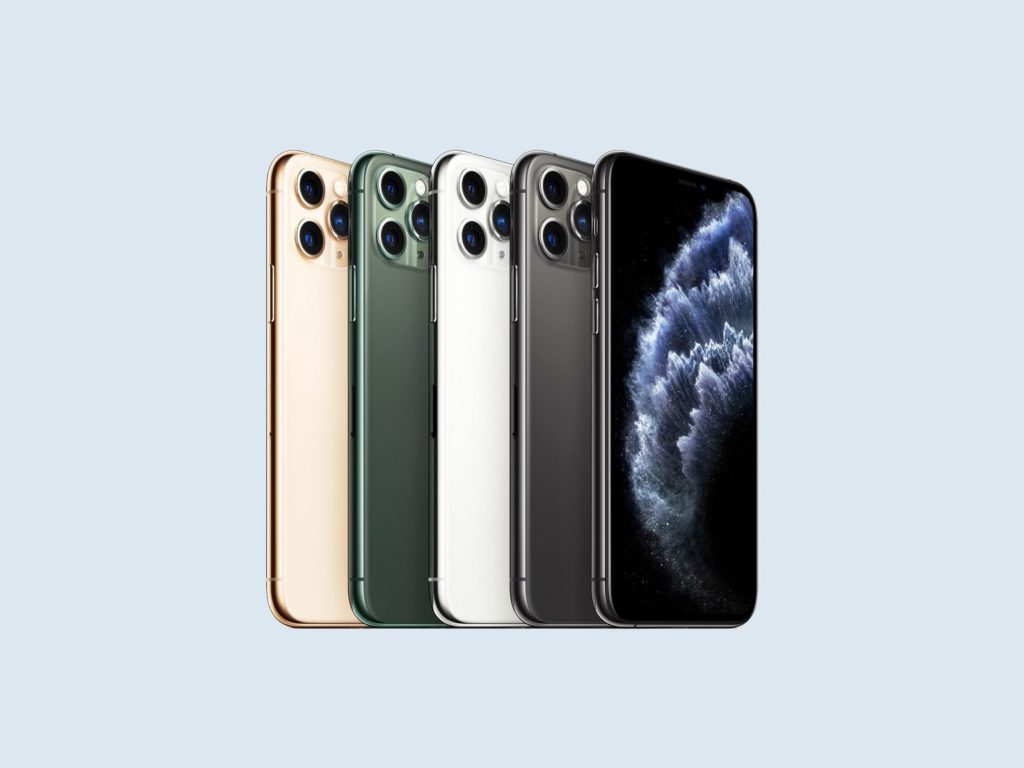
What a lovely new iPhone you have! Here’s how to get acquainted with it to ensure a two-to-four year lifetime, give or take, of happiness. Or just one, if you’re an annual upgrade person.
When you turn on your new iPhone, you’ll be greeted by the Setup Assistant, through which you’ll establish essentials like your Wi-Fi network and six-digit passcode, Face ID, your Apple ID and iCloud account, and whether you want to activate Find My Phone and Location Services. You’ll also be asked if you want to set up Siri (you do!), which includes saying a few phrases so the assistant can get to know your voice.
It sounds like a lot of decisions and inputs, but the whole process takes only a few minutes. Better yet, none of these choices are binding; you can find them all again later under Settings.
After you’re done with the basics, it’s time to make that beauty truly yours, by topping it off with all of your contacts, apps, and content. You can do this the easy way or the hard way. Which path you choose will likely depend on whether this is your first iPhone or iPad.
If you’re an Apple vet, you can simply select Restore from iCloud Backup or Restore from iTunes Backup (speaking of which, make sure to back up your old device before you do this). Then enter your Apple ID and password, and go grab a peppermint mocha while your iPhone restarts with all of your settings, preferences, apps, and more in place. In other words, it’ll be just like your old device, but … newer.
If your old device runs anything later than iOS 11, you can also use what Apple calls “Quick Start.” First, swap your SIM card into your new device. Then bring your new iPhone close to your old one, and confirm that you want to use the same Apple ID on the new device. An animation should appear on your new device; hover your old one over it until that image appears in your viewfinder. Enter your password at the prompt, and you’re on your way to setting up Face ID. From there, you can choose exactly what you want to back up, and which settings—including for Apple Watch, if you have one—you want to carry over.
If this is your first Apple rodeo, or you just want a fresh start and like fiddling around in menus, select Set Up as New Phone, which will accomplish exactly what it sounds like. If you’re coming over from Android, be sure to download the Move to iOS app from Google Play. On the Apps & Data screen during the setup process for your new iPhone, tap Move Data from Android. Go back to your Android phone, open the app, tap Continue, and follow the instructions from there. You can’t transfer literally everything, but you can bring over your contacts, messages, photos and videos, calendars, and email accounts. Some free apps will make the jump as well.
Otherwise, it’s just a matter of personalizing to your preference. Want to add an email account? Go to Settings > Accounts and Passwords. Want to fine-tune which apps refresh in the background (and drain your battery in the process)? Head to Settings > General > Background App Refresh and toggle your little heart out. Want to save time on Web forms? Go to Settings > Safari > Autofill and pre-load your contact info.
This new device will also have iOS 13 on it. Check out this handy list of the most important new features you should learn about in Apple’s latest mobile operating system. You should also read up on all the ways iOS 13 will make you safer.
One last recommendation: Get rid of the clutter. iOS 13 lets you delete Apple’s many, many stock apps. Do it! It feels great, I promise. Oh, and while you’re digging around in Apple’s preloaded apps, make sure to stop by Messages and build yourself an Animoji to send your conversations spiraling into a pit of craven trollery.
There’s no one right way to iOS, but hitting those basics should at least get you started on a sane path.
This setup guide was updated in December 2019.
Go Back to Top. Skip To: Start of Article.


